Thursday, November 24, 2016

Celtic Sword & Helmet

Celtic Sword & Helmet  

(from "Celtic-Inspired Snowflakes" by Marie Scott & Dawn Andrus)


PENCILS
I used a mix of colored pencils from Prang, Crayola, and Prismacolor. 

COLORS
For this very Celtic picture, I wanted to use good old English/Scottish colors, so I chose a red and green complementary color pattern, with purple and light blue thrown in for good measure, and browns and tans for practical purposes.

TECHNIQUE
I have to admit I spent most of my time trying to salvage this picture because my color choices kept not working. But I have a rule that I will not scrap a picture once started, because I'm sure I would find myself scrapping every picture for one reason or another and never get anything finished. Artists are never satisfied, and even if they think they're finished after the last sitting, they find things they'd like to do better. This picture was a special problem.  So my technique on this one was to keep hammering away with one color after the other until it was so thick with pigment, it sunk on the page. :)  Still, it comes off looking fairly Old English after all, which is to say, plain and serviceable.  The idea here is to let you know you aren't the only one who struggles--and just hang in there and learn by experience.


Thursday, November 17, 2016

Magnolia

Magnolias  

(from "Flower Snowflakes" by Marie Scott & Dawn Andrus)


PENCILS
I used Crayola and Berol Prismacolor pencils, and smoothed them with petroleum jelly.

COLORS
This is a gorgeous Magnolia design, and I had to do it in the pinks and greens I love most. It is a fairly straight forward complementary color scheme, with touches of yellow, lavender, and light teal.

TECHNIQUE
The pinks and dark pinks I laid in with crayola colored pencils. Then I added vibrant Berol Prismacolor colors on top and smoothed it all with petroleum jelly. This can make for very dramatic color. Then I worked in touches of yellow and lavender on the petal edges. I also used a mix of two greens on the leaves, then added teal blue to the stems and leaf centers. I just love to put in as many touches of different color as I can, even in the dark pinks of the border.  After the picture was done, I scanned it into a photo shop program and flood-filled a light teal border as a cool contrast.


Thursday, November 10, 2016

Iris Snowflake

Iris Snowflake  

(from "Flower Snowflakes" by Marie Scott & Dawn Andrus)


PENCILS
I used both Berol Prismacolor and Crayola colored pencils to color this picture. 

COLORS
I chose to mix together four different iris colors in each bloom, instead of coloring the flowers each a different color. It serves to make a pattern of lower reddish petals and upper blueish petals. My colors are red-violet, blue, violet, and blue-violet, with varying greens and touches of yellow and orange. It's particularly fun to stick a little orange alongside the long green leaves as a contrast of vibrancy

TECHNIQUE
This was all colored and shaded using the bright softer pencils of the Berol Prismacolor first, and then I burnished each color with a similarly colored Crayola colored pencil. It made for some vibrant color worked into the paper's tooth.


Thursday, November 3, 2016

Green Man

Green Man  (from "Celtic-Inspired Snowflakes" by Marie Scott & Dawn Andrus)


PENCILS
I used mostly Berol Prismacolor pencils in this picture. They are a higher and softer grade of pencil that give great vibrancy of color, and layer well.

COLOR CHOICES
I wanted to do this picture mostly in forest colors rather than fall colors, but I worked in some fall colors simply because I love color. You could call this a kind of neighboring color scheme,(colors beside each other on the color wheel. Greens and neutral browns.), but because of the reds you could also call it a complementary color scheme, (colors across each other on the color wheel. Red & green). I used many colors of green: some layered with blue, some layered with orange or red, and some layered with yellow.

TECHNIQUE
I laid color down in layers, sometimes burnishing with a white pencil in between layers, sometimes not. I also shaded mostly by fading into different colors rather than by shading with one color. That's achieved by shading with one color, then layering with the next being careful to grade in the color gradually. Fun stuff!


Friday, October 28, 2016

INTRODUCING OUR NEWEST COLOR BOOK!

"Magical Fairies & Flowers:  

A Find-the-fairy-on-each-page Coloring Book"

We are excited to introduce this new adult coloring book, also wonderful for ambitious children.

The back cover gives you a taste of what the pictures are like. Each one of the 42 designs is carefully hand-drawn, (none of that cheap and common computer generated artwork), and includes a fairy to find in each picture.

   It's for sale on Amazon.com for $9.99 right now.

 We hope you'll love it!


Here are some of the pictures colored.


Thursday, October 27, 2016

The Fish

We're going to post some pictures over the next while with narration on color choices, and techniques using colored pencils. Here is the first one.


The Fish 

(from "Whimsical Snowflakes" by Marie Scott & Dawn Andrus)


TYPE OF PENCIL
I did this picture using a twelve-color set of Prang pencils. Though there are all grades of pencils, this is a less expensive school grade of pencil with harder lead. These pencils don't get very dark, so they're good to use when you just want a soft effect. They're best used when sharp and when using a circular motion. 

COLOR CHOICES
Since I knew I wanted the flower to be pink, I chose dark pink and yellow to be repeated in the fish. The orange of the fish was repeated in the sand of the sea floor, and in some of the plants. Since the artist gave me a lovely circular pattern in the water, I chose to find ways to use different colors of water in those circular spaces instead of just shading with one color. I also repeated the colors of the water in the dragonfly perched on top.

TECHNIQUE
I simply used a soft circular technique throughout the picture, and pressed down as much as possible for the cute little frog--I love the frog! After I'd based the fish, I decided to give it some soft stripes to add a little interest. Then I used a white pencil to go over top of everything to smooth and burnish it. After the burnishing, I put some darker color in the flower and other shaded areas. I scanned the picture into a photo shop program and flood-filled the dark blue border which picks up the blues of the water.


Saturday, October 8, 2016

Some beautiful coloring out of our coloring books by Brittany Jensen.  Thank you, Brittany!


Saturday, October 1, 2016

Snowflake Book Colorers

Here are some little coloring artists, (they are not members of our family either!), working in our snowflakes coloring books. This is proof that detailed pictures interest children too. Love to see them so absorbed!  


Sneak Peak . . . Whimsical Snowflakes

HAVE FUN VIEWING A SNEAK PEAK OF FOUR DIFFERENT PICTURES FROM OUR FOUR SNOWFLAKE COLORING BOOKS.

Here's a sneak peak at some of our whimsical snowflakes.

Cinderella's slipper--or slippers. There are plenty of extra slippers in case one or two get broken.
Cats and Pumpkins -- fun for Halloween.

Snowmen -- circling in for winter.

A large pumpkin and sunflowers. Can you find the cat and mouse inside?

Sneak Peak . . . Flower Snowflakes

 Here's a sneak peak at some of our flower snowflakes.

Hanging Heads
Water Lilies

Lollipop Flowers

 Tiger Lily Swag --  just for fun.

Sneak Peak . . . Dragon Snowflakes

Here's a sneak peak of some of our dragon snowflakes

The boys in our family especially love dragons, so we had to learn a thing or two about them--an interesting project, since dragons are not real. (At least not in THIS world.)  :)

Hydra Heads 

Butterfly Dragons

Castle Dragon

 Fancy Asian Dragon

Sneak Peak . . . Celtic-Inspired Snowflakes

Here are some sneak peaks of snowflakes out of our Celtic-inspired Snowflakes coloring book.

First are some entwined leaves--always a fun subject for flower and foliage lovers.
This is a rendering of a braided tangle of leather or metal pieces reminiscent of the armor of the Celts.


Roosters are often used in Celtic work, so I included a snowflake of roosters in memory of the chickens our dad used to keep.

I did this picture for my nephew, Eric, who loves wolves.


Tuesday, September 6, 2016

Snowflake Color Book Series


Look for our brand new Snowflake series coloring books on Amazon.com -- selling for $6.50 a piece right now


Notice that all of these books have illustrated coloring tips on the back covers, as shown below.


Saturday, August 20, 2016

Colored Pencil and Petroleum Jelly -- Saxon Alley Times Four


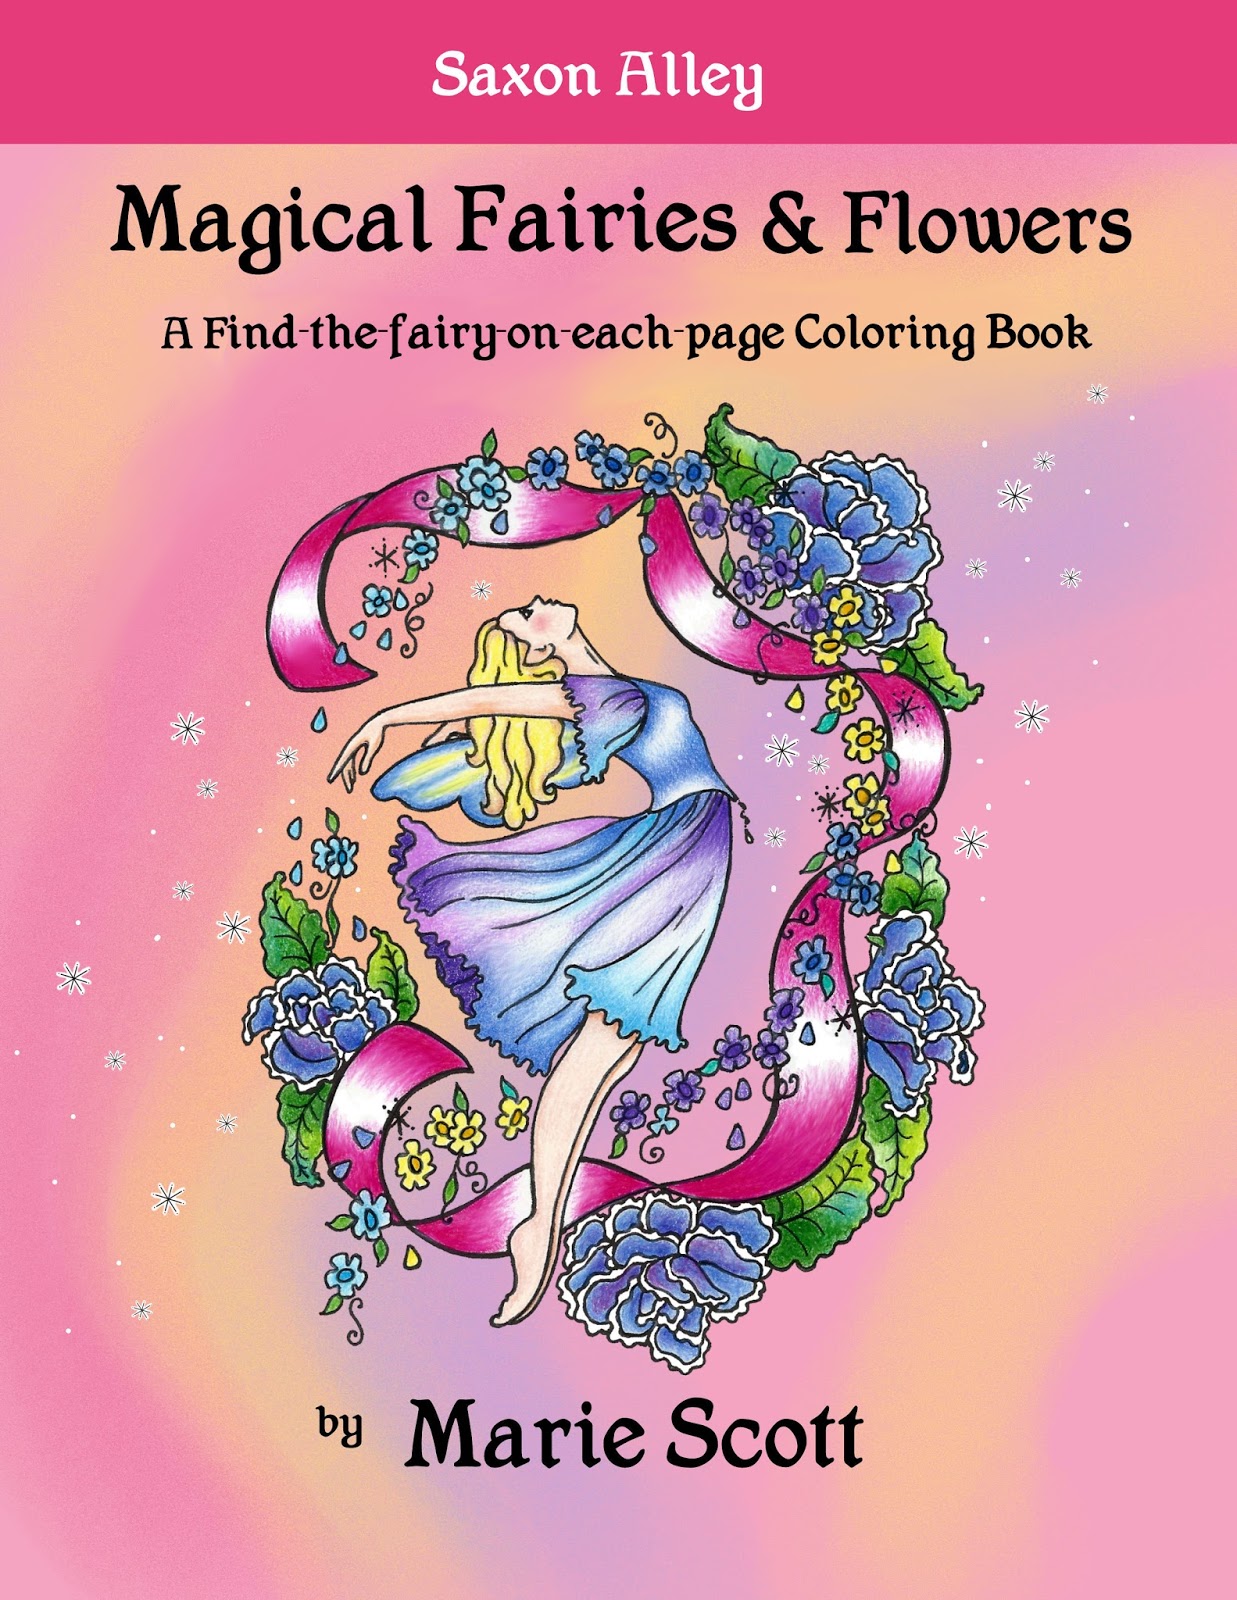
Here are some Saxon Alley pictures all done in colored pencil, using petroleum jelly and burnishing pencils.  This isn't photo realistic art, (which I love), it's just fun stuff, easy and as quick as you like.

(Notice the picture on the home page is done in water color.)


1)  Color smoothed with petroleum jelly (Vaseline)

 After I colored this picture, I smoothed the colors over with petroleum jelly, either with my finger, or swabs. This technique causes the pores of the paper to be filled in tightly with color, whether you use inexpensive pencils or the higher grade ones. 


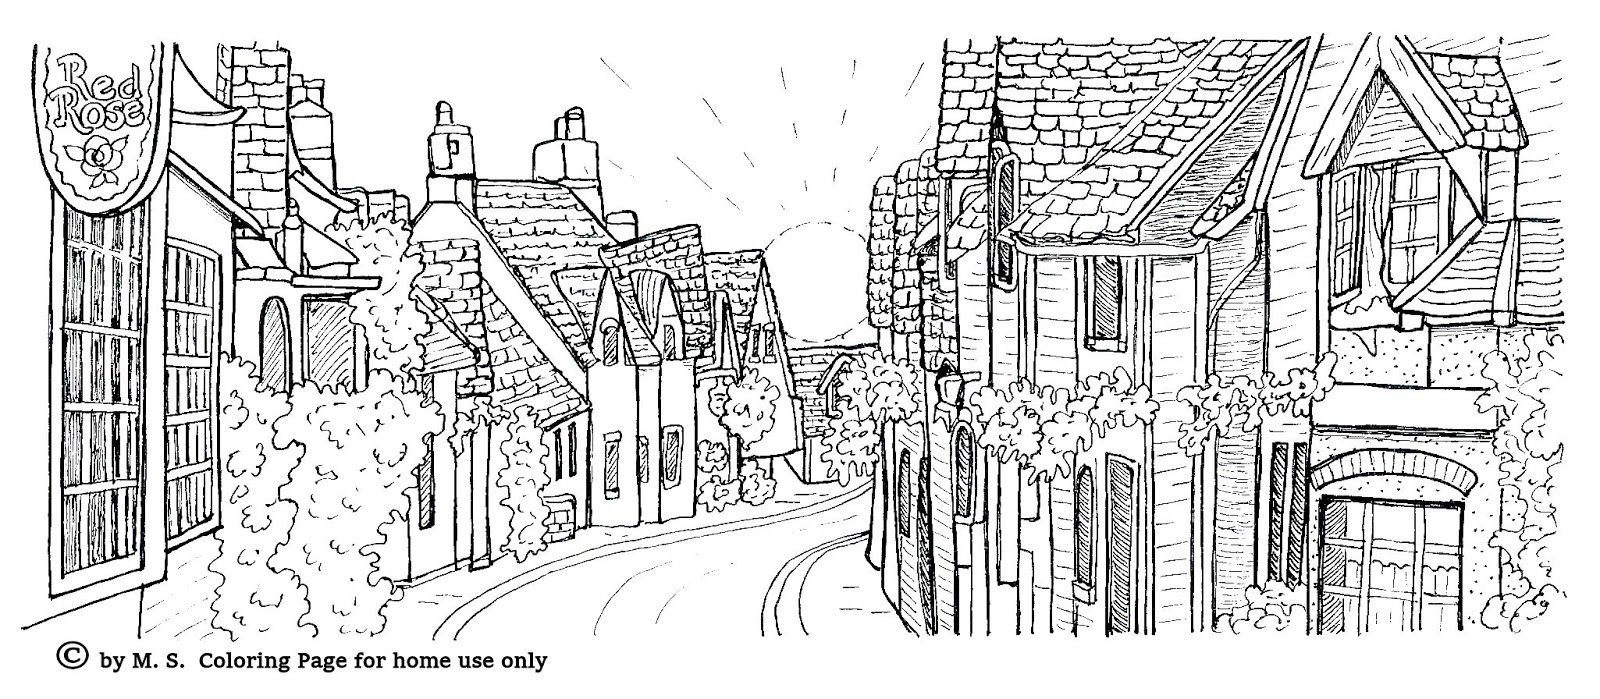
2)  Petroleum jelly applied before coloring

In this picture of the Alley, I used patriotic reds, whites, and blues,with green foliage and a little yellow and neutral color added. The technique I used here was to cover the entire picture with a coat of petroleum jelly, (Vaseline), before I added any color at all. It doesn't take away my ability to shade in any way, but makes the darks and solids both more vibrant, less muddy, and easier to apply. Such fun!


3) No petroleum jelly used here -- just burnishing

I colored this picture using a tighter pallet of color--neighboring colors--blues, greens, blue-greens, and some very yellow-greens and neutral colors. I burnished the colors with a white pencil. (I often use a hard, inexpensive grade of white pencil to burnish. It does a great job of pushing the color into the tooth of the paper.) Then I used another layer of color on top of the white to make shading outlines pop.  Notice the difference that can be obtained using solid colors or shaded colors. I don't often do this kind of cell-by-cell shading, but many people love to do it and love the effect.


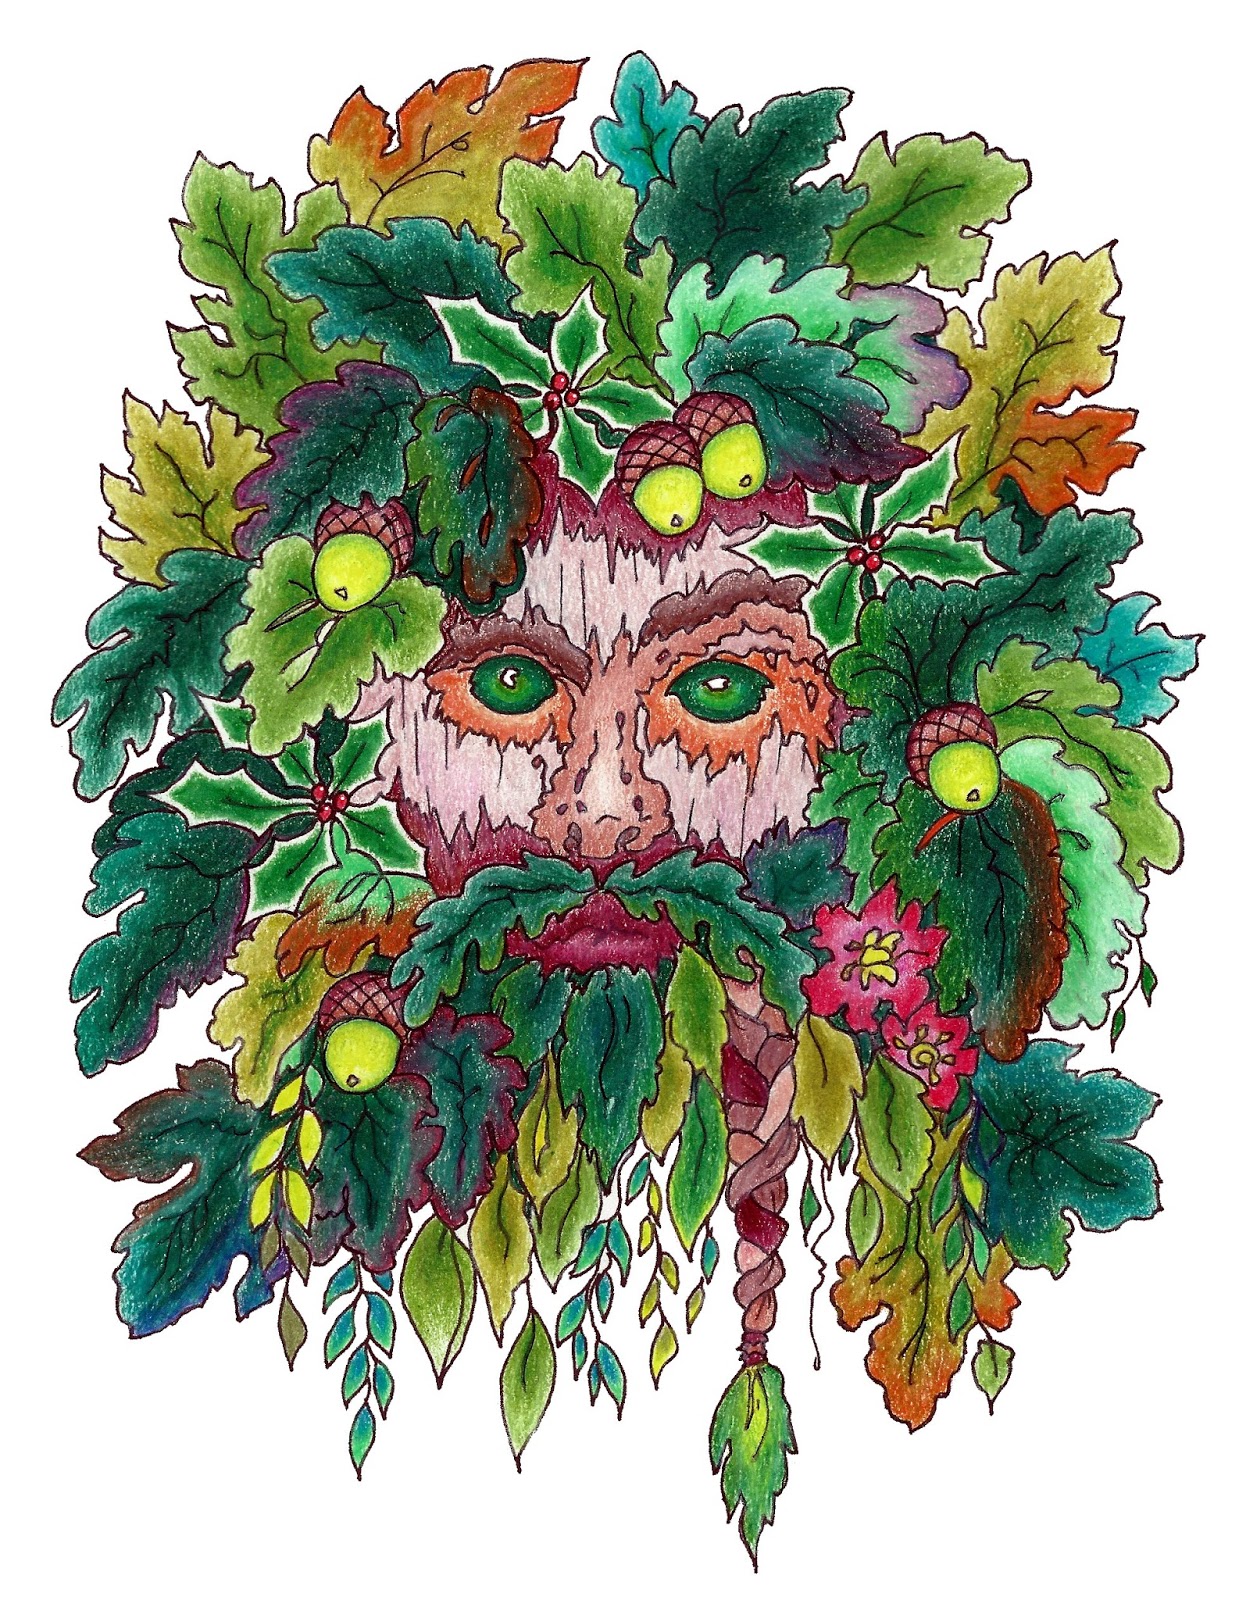
4)  Petroleum jelly used on pencil tips as needed

I can almost taste this picture. What fun it can be to add in textures and fanciful colors that warm up a picture and invite others into the fantasy. It's absolute fun, though less realistic. I used petroleum jelly on the tip of my pencils as needed, then did some burnishing.  Enjoy your coloring, you amazing artists! 

Wednesday, August 3, 2016

WELCOME to Saxon Alley!

This is just the beginning . . .

What should Saxon Alley look like colored?


This is our first coloring book page. Color it, send it to us, and let us know
what you think Saxon Alley should look like colored.